Sending your Contact Card / QR Code Registration

Sending your contact card to a recipient allows them to view your contact information and save it to their phone for future use. Sharing your contact card with someone is much like friends sharing contacts with one another. Also, when your business texts or calls this person in the future, it shows on the caller ID if they’ve saved your card. 

Pro tip: You should always include your contact card when contacting someone for the first time.

Captivated’s Recommended Contact Card message template:

“Hi {{salutation}}. Please save my attached contact card to your phone for future use. 

Sending your Contact Card Video Walkthrough

Sending your Contact Card Step by Step Instructions

To send your contact card, select the paperclip icon below the message field and choose “Attach Contact Card”. Your contact card will then be attached to the message and a preview of your contact card will show above the message field.

You can create a template with your contact card attached or you can attach a sender’s contact card to any of your previously created templates.

The contact card will look something like the following when opened on the contact’s phone. When opened by the contact, they can create a new contact, share the contact card with others or update existing contact information.


If you need to adjust the information displaying on your contact card, you can do so under “My Profile” or may need to your Captivated Administrator to do so depending on your company’s Captivated settings. Feel free to contact Captivated Support for assistance.

Editing your Contact Card Video Walkthrough

Editing your Contact Card Step by Step Instructions

To edit your contact card, head to your My Profile section. You may need to your Captivated Administrator to do so depending on your company’s Captivated settings. Feel free to contact Captivated Support for assistance.

In the My Profile tab, you can adjust your name, title, email, personal mobile number, turn on 2FA, adjust your signature and your profile photo. 

You can also navigate to the Contact Card tab to view what your contact card will look like as well as review your registration link and QR code to gather opt-ins. 

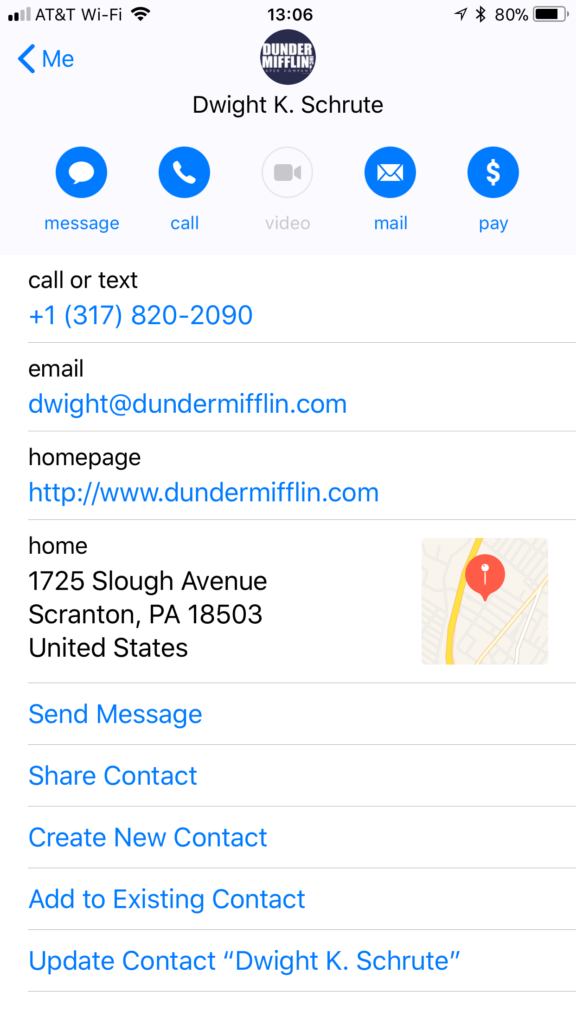
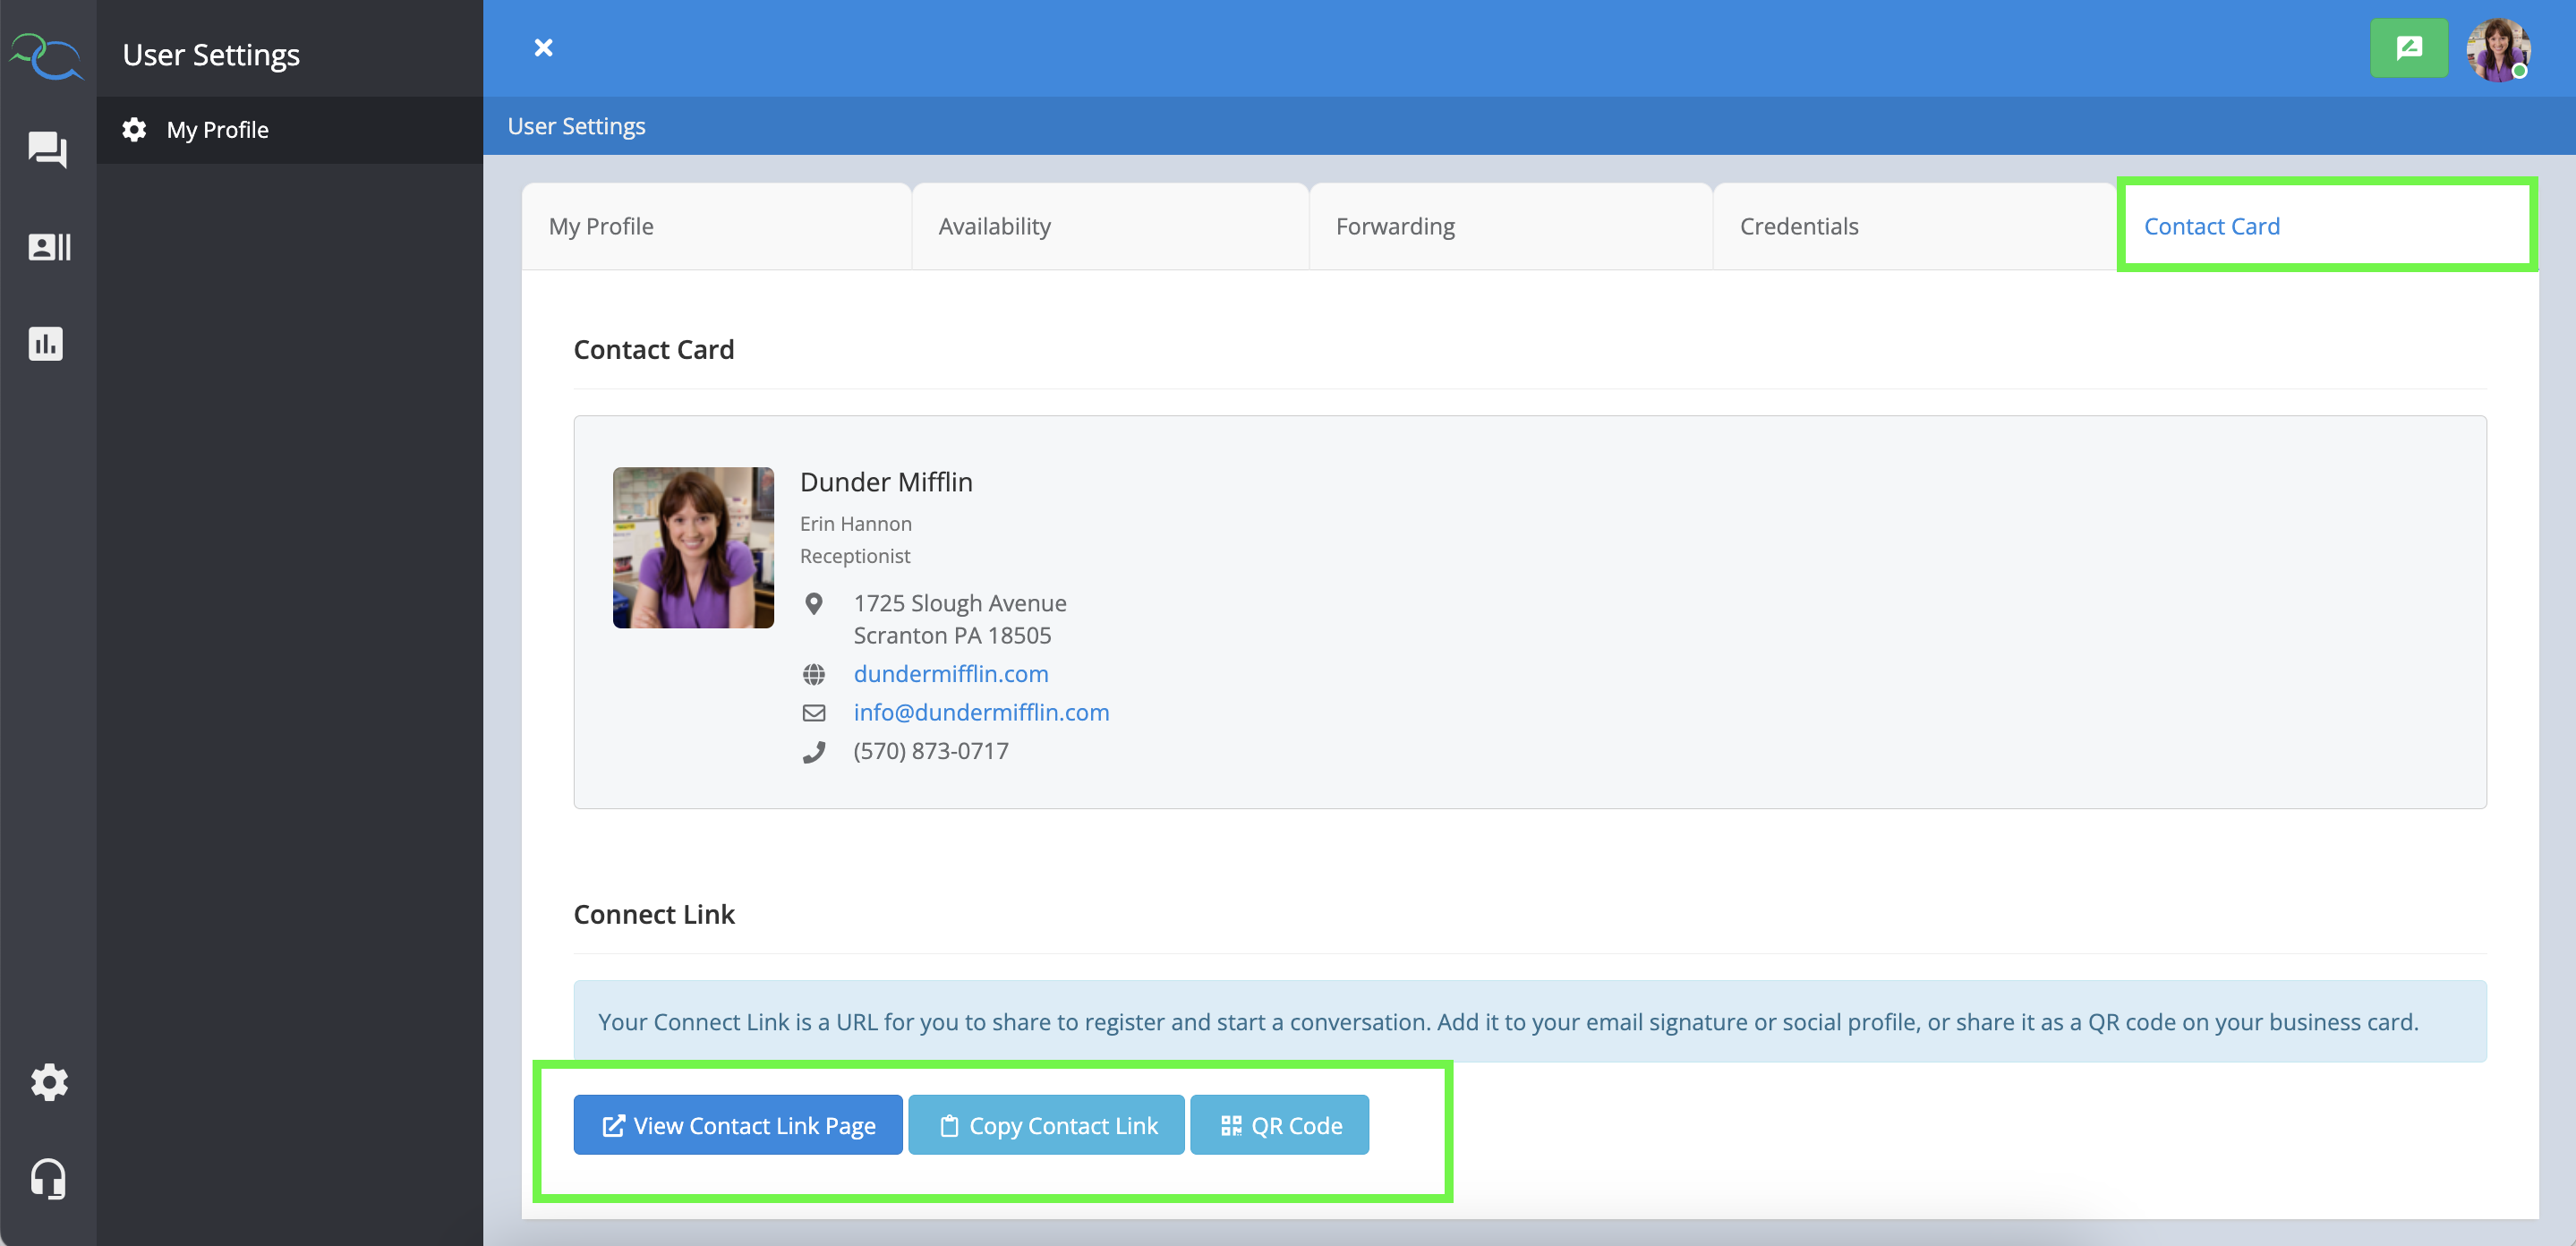
Here is an example of what your contact link page would look like. It will allow your contact to enter their information and register to receive text messages as well as save your contact card all at one time. 

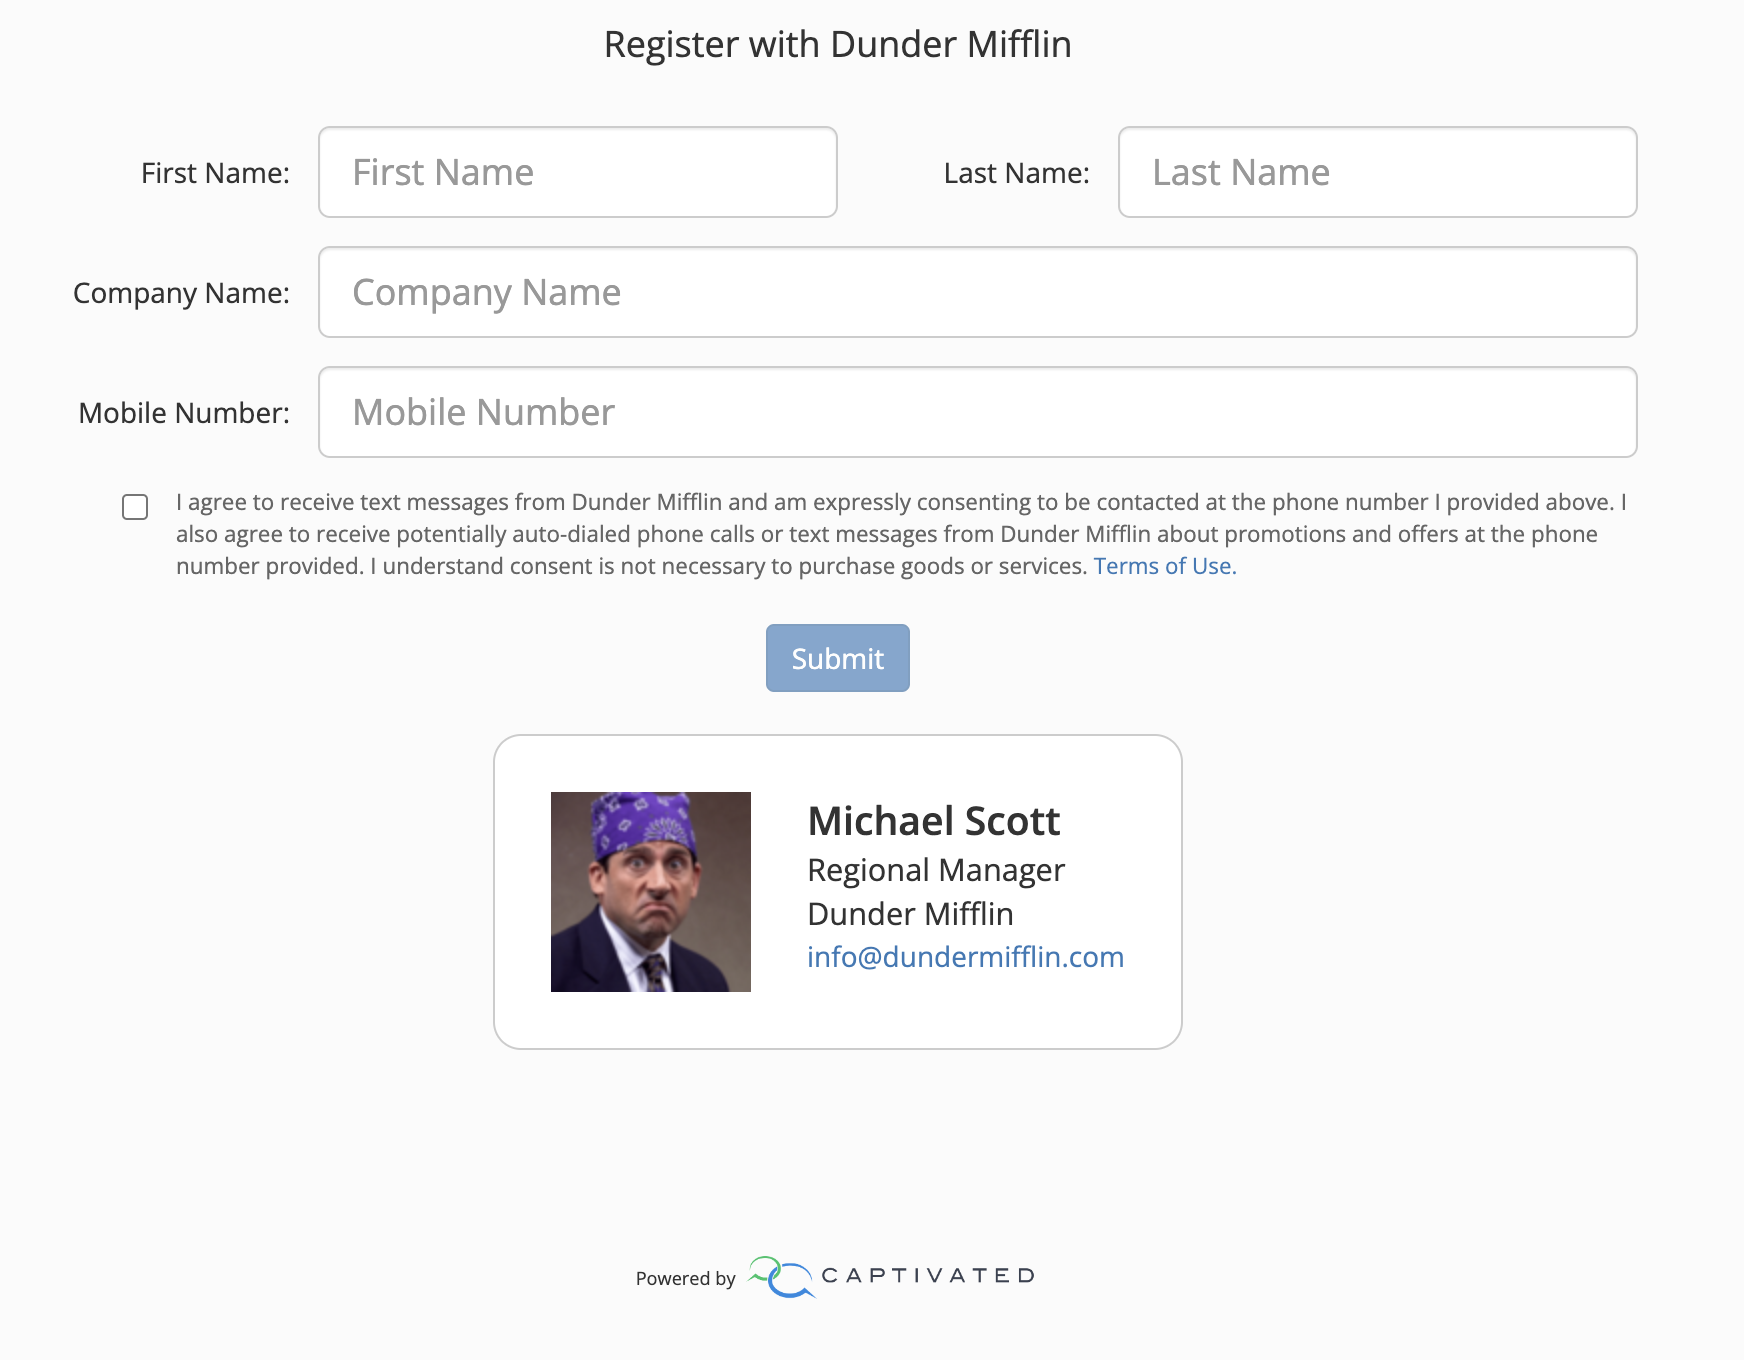
Additionally, you can use your unique QR code as a way to gather opt-ins. 

Yes. You can adjust your display name, email and title under “My Profile” > Contact Card. Any additional information such as a direct desk phone number will need to be adjusted by your Administrator.

Yes. After sending a contact card, you can click on the link within your sent message in the conversation to download it and save it to your computer.

Related Articles

Leave a Comment