Step 1: Contact your Merchant Service Provider (MSP) and let them know that you are setting up an Authorize.Net Gateway account and you need a “VAR SHEET”.
You may need your Authorized.Net Gateway set up PRIOR to asking for the "VAR SHEET"
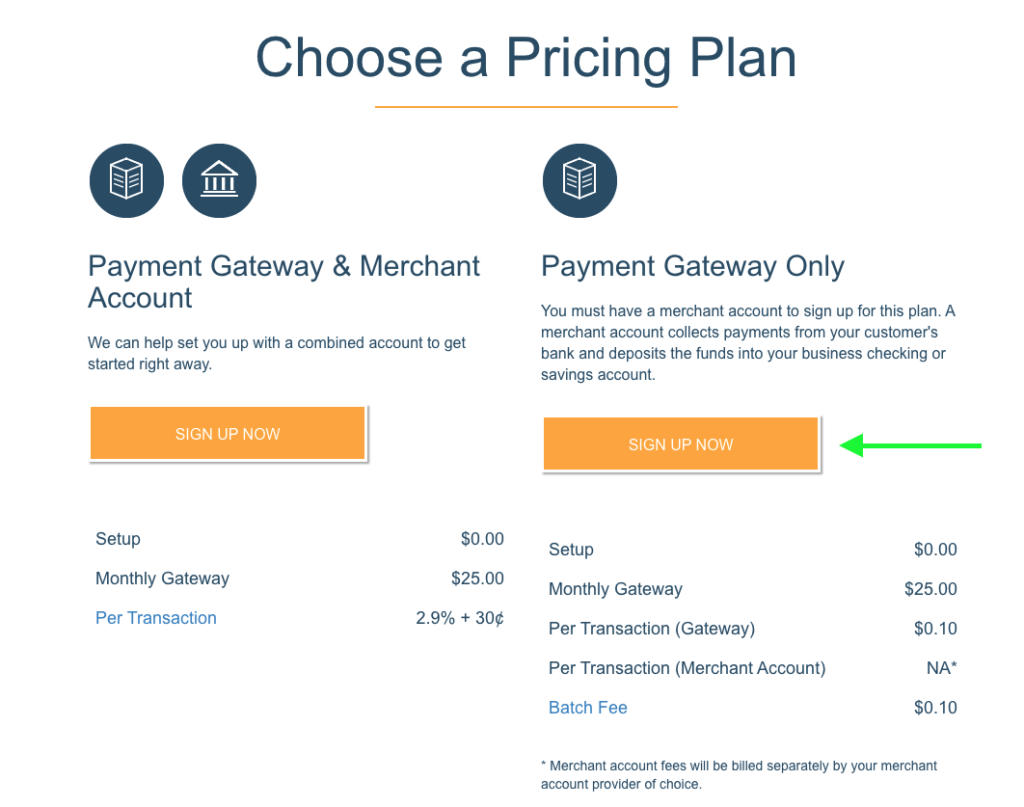
Step 2: Click here to sign up. Under Payment Gateway only, hit “Sign Up Now”.
Step 3: Complete the merchant application and hit “I Agree and Submit.”
If you did not connect Authorize.Net to your MSP in step 1, do that now using the VAR SHEET information.
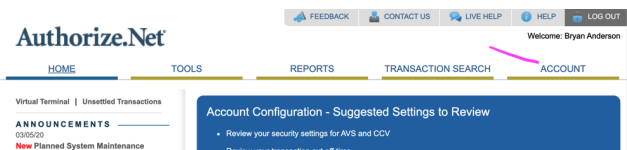
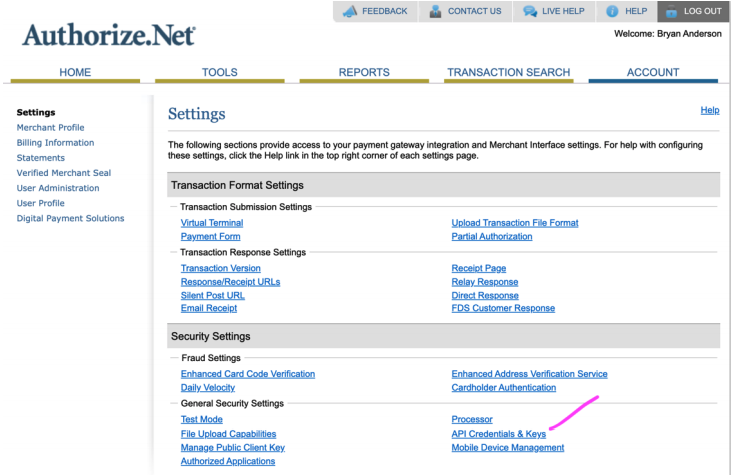
Step 4b: Under “Security Settings,” click on “API Credentials & Keys.
Step 4c: Click on “New Transaction Key”
Copy the API Transaction Key and the API Login ID below
Paste the API Transaction Key and API Login ID somewhere safe to access in Step 5c
Step 5: Set up your Authorize.Net account in Captivated
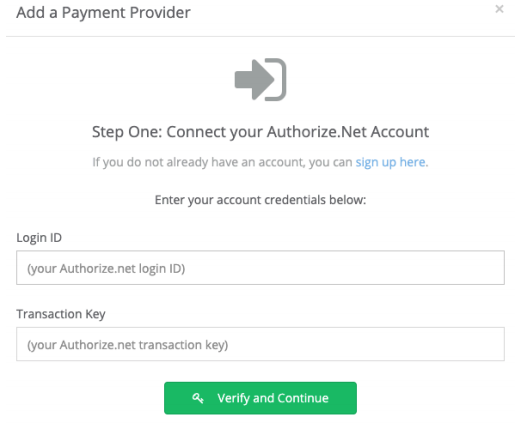
Step 5b: Log into Captivated. Click on “Administration,” > “Payment Providers, > “Add Payment Provider” > “Authorize.Net”.
Step 5c: Fill in your API Transaction Key and API Login ID.
Easily send invoice and collect credit card payments via text
See completed payments in Captivated, Authorize.Net and your Merchant account
Review your complete and incomplete payment requests within the Payments tab of the Dashboard in Captivated
Questions? You can chat with Captivated's Support team using the "Support" option in the left-hand menu of our app or text Captivated Support at 317.316.3600